
Zoom supports VDI. It's already optimized for Citrix and VMware VDI solutions. Since Windows Virtual Desktop became a front runner for cloud VDI solutions, Zoom released its latest version to support WVD and optimize communication while redirecting local camera and audio devices. From this post, I am elaborating on how you install Zoom on top of WVD to support its optimization. Zoom clients can compare as follows.
Desktop Client
This is the full-fetched Zoom client where you can experience all the features of the product. It supports 49 video participants with 1080p video resolution with sharing of desktops, apps, whiteboard + audio, camera, and airplay. However, this client should run in a regular desktop environment.
Zoom VDI Client
VDI client is specific to VDI environments. With the VDI client, Zoom has a plugin that you need to install in the host where you are connecting to the VDI desktop. This will Optimize the zoom connection and device redirection. The plugin was only available to Citrix and VMware VDI solutions; however, the plugin is now available for Windows Virtual Desktop with the latest Zoom release.
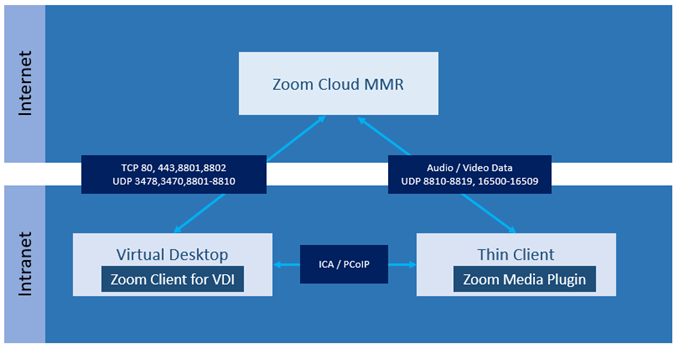
With the plugin, video encoding and decoding will be offloaded to the local client. And the local client will initiate the communication to the Zoom cloud. This will provide the same user experience, such as using a Zoom desktop client. The below diagram represents the basic communication flow.
Web Meeting client
This is how you connect to Zoom with the web browser. Web meeting client is not rich as desktop or the VDI client. However, you could connect instantly with almost any device. Web client supports 1 Active speaker; 720 px is the max resolution. Also, you can share your desktop and applications.
Installing Zoom for Windows Virtual Desktop.
When installing Zoom for WVD, you need to do two installations. Install the VDI client on WVD session hosts and install the WVD plugin on the host where you are connecting to the WVD session. Let us follow this step by step.
- First, you need to download the Zoom VDI client and WVD plugin. Navigate to the following URL https://support.zoom.us/hc/en-us/articles/360052984292
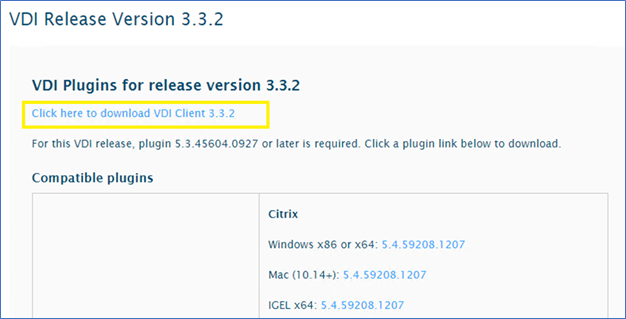
- Click, click here to download the VDI client. As of today, its 3.3.2
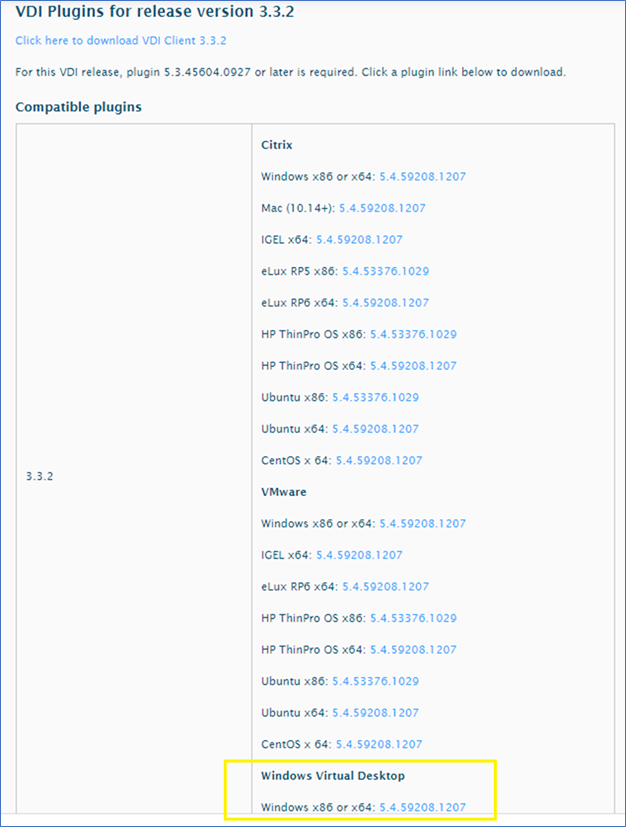
- Next, download the latest Windows Virtual Desktop Plugin.
- Next, you need to install the VDI client on the WVD session host. Copy and run the installation.

- Now you need to install the downloaded WVD Plugin on the device where you connect to the WVD session.
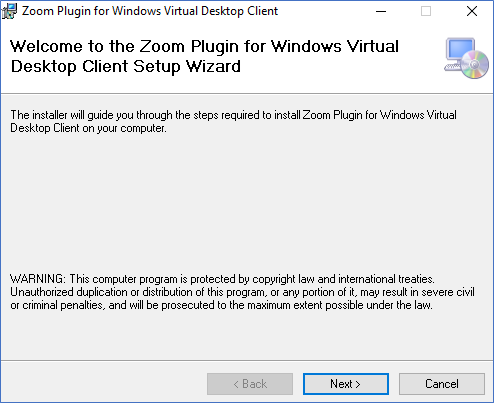
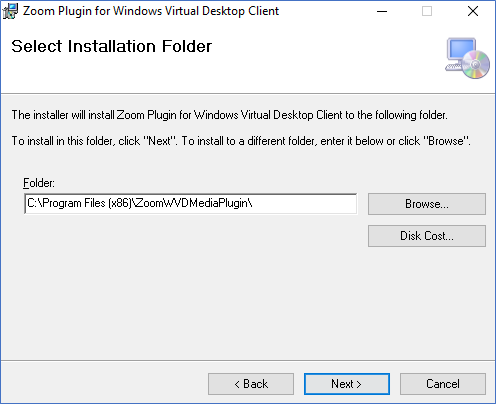
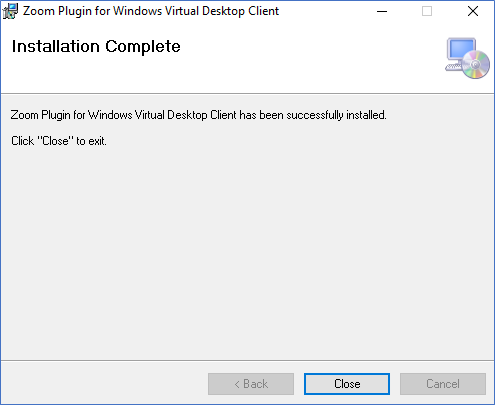
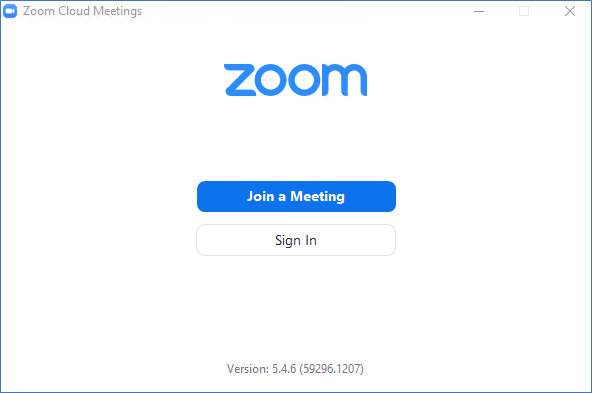
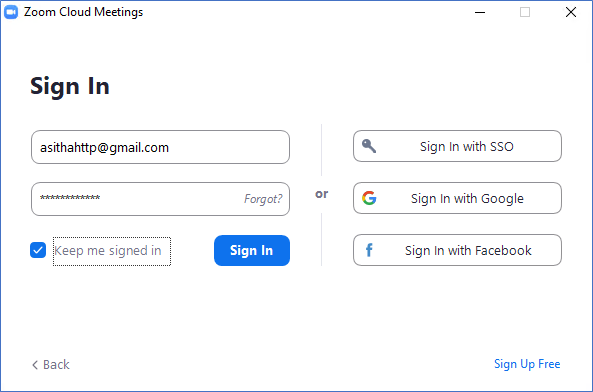
- After installing both the VDI client and the WVD Plugin, login to Zoom.
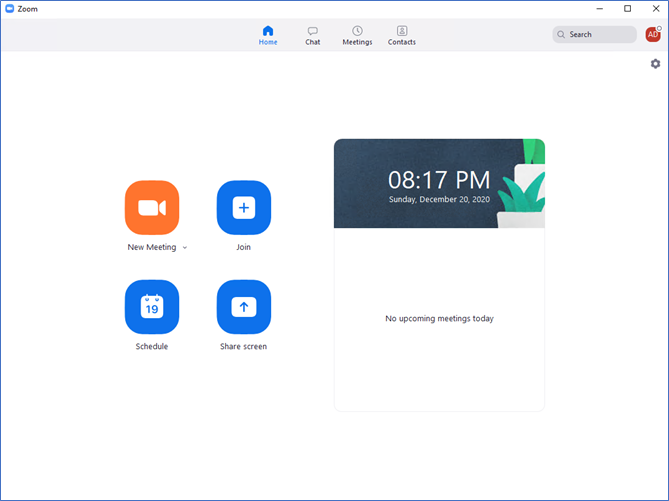
- To confirm the device redirection and optimization, go to the Settings page of Zoom. Click Audio and Video to see whether your local devices are correctly redirected to the WVD session.
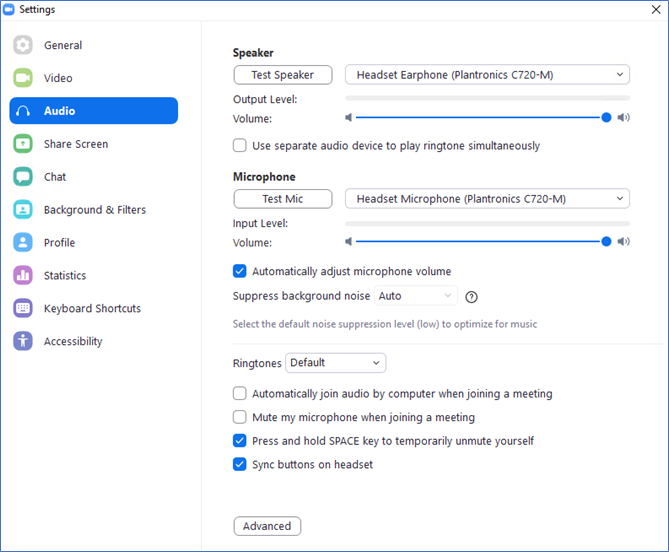
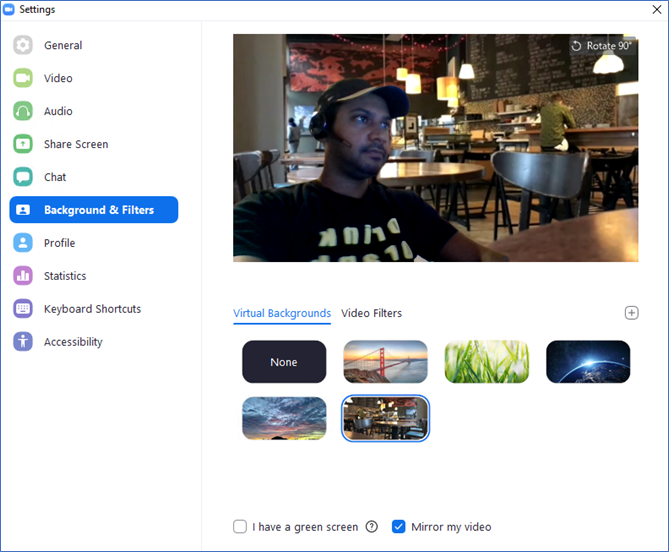
It's very impressive to see Zoom has developed and released the WVD plugin this much quicker. it is another good fact that Windows virtual desktop is gaining popularity very fast and became a front runner among VDI solutions.
I hope this post is useful.
Cheers
Asitha De Silva


