Azure Virtual Desktop supports GPU-accelerated rendering and encoding for improved app performance and scalability. Using GPU powered VMs you can run workloads such as remote visualization, streaming, gaming, encoding, computer-intensive and network-intensive applications, and algorithms.
In this post, I’m going to talk about how to prepare a GPU optimized VM for Azure Virtual Desktop. We will also discuss GPU reservation, Driver installation, GPU testing and capturing to deploy host pools.
Request GPU cores
Most of the time you cannot spin up a GPU VM on demand because of the limited availability in Azure datacenters. However, you can request the VM SKU and required CPU cores from the Azure portal. If the VM SKU is available in the selected datacenter, this is a quick process. Sometimes you might need to raise a support request to increase CPU quota.
Log in to the Azure portal – Subscription – Usage + quotas

Find the required VM SKU, Ex - NV-series, NVv3-series, NVv4-series or NCasT4_v3-series, and check you have quota available, if not click edit and set the new limit.
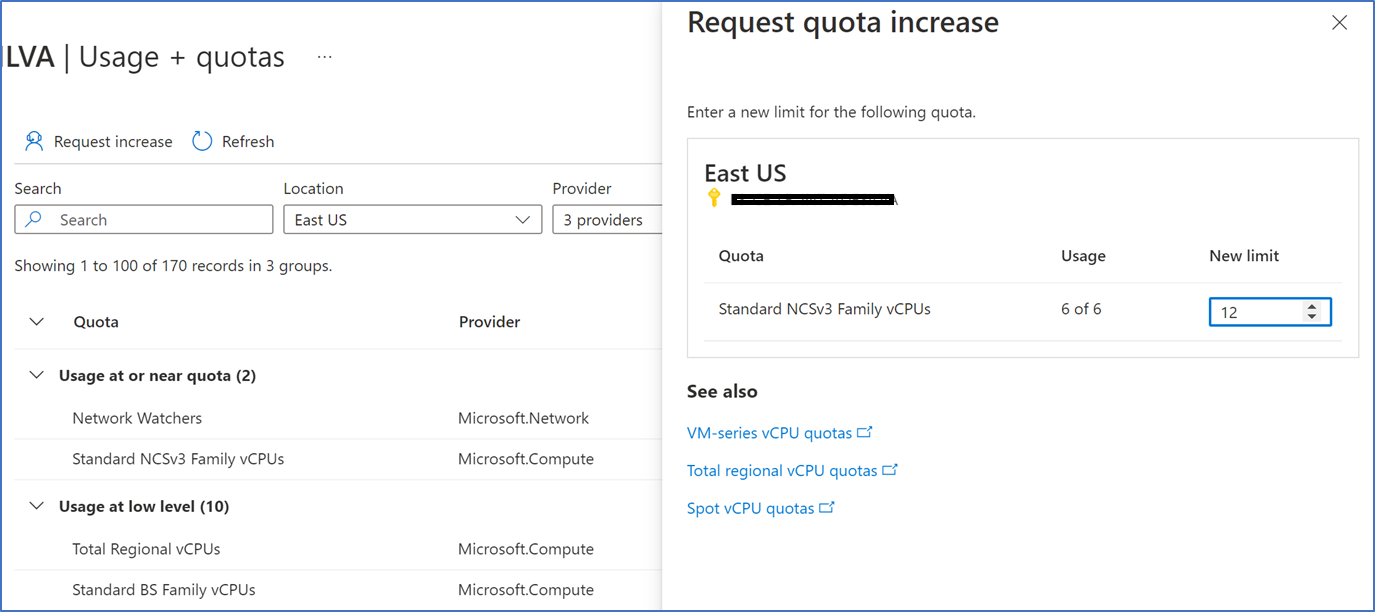
If required, you might need to open a support request. You will get notified when a relevant CPU quota is added to your subscription.
Display Driver installation
When you deploy an N series VM, you need to install the correct display drivers to enable GPU capabilities. The easiest method to install drivers is using the Azure VM extension. This will install the correct CUDA or GRID driver which is relevant to the VM SKU. However, for the NCasT4 VM series, you need to install the GRID drivers manually. In my example, I’m using NCasT4_v3-series.
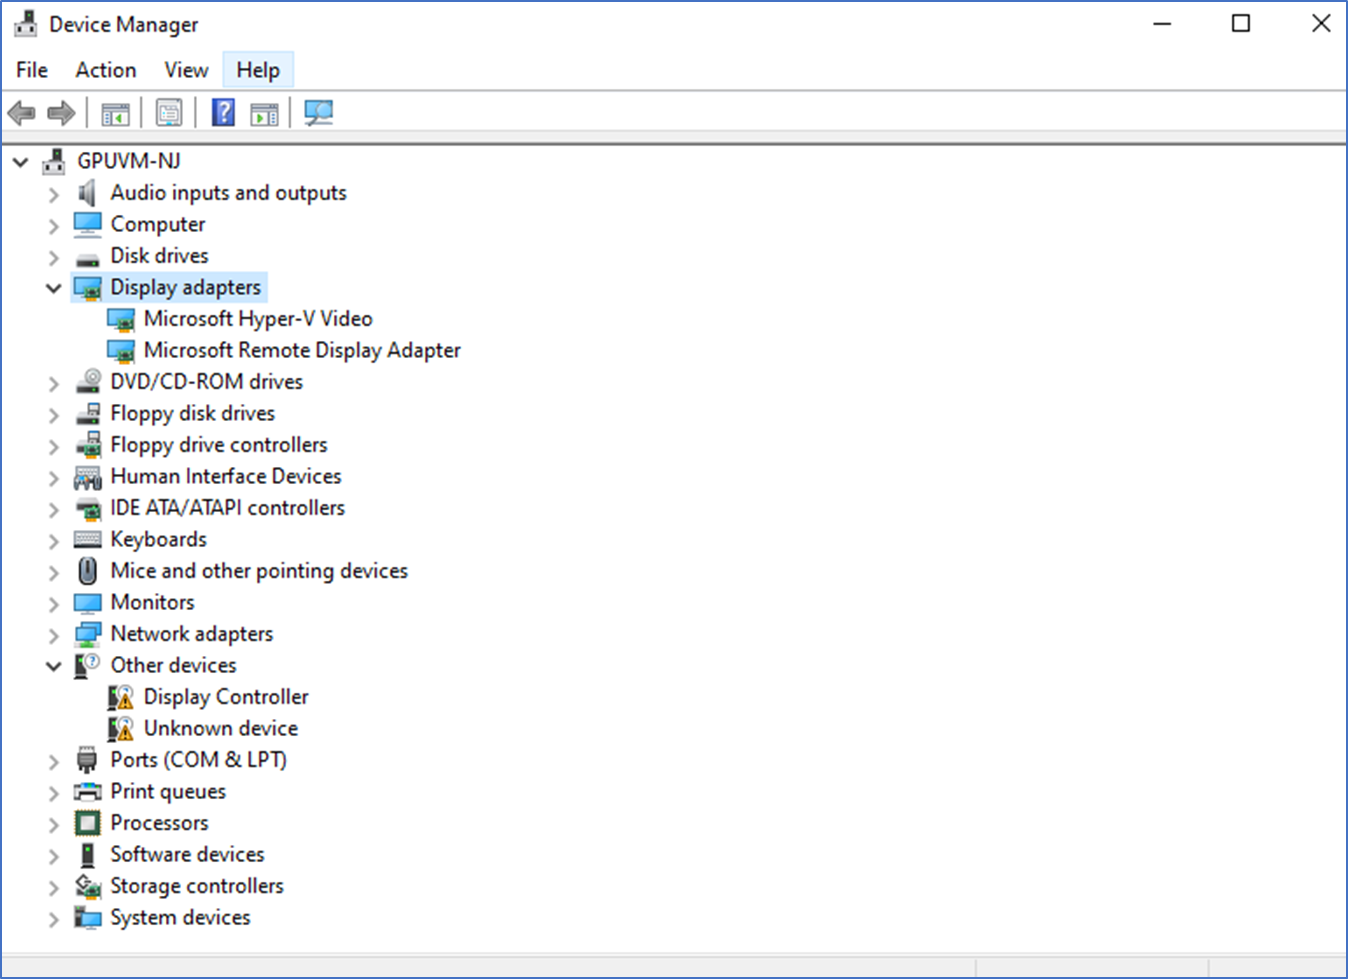
- Log in to the VM and open Device manager- Display adaptors, check if you have the driver or not.
- Log in to the Azure portal, find the GPU driven VM – Extension + Applications – Add and select Nvidia GPU Driver extension

- Click Next and install the Driver
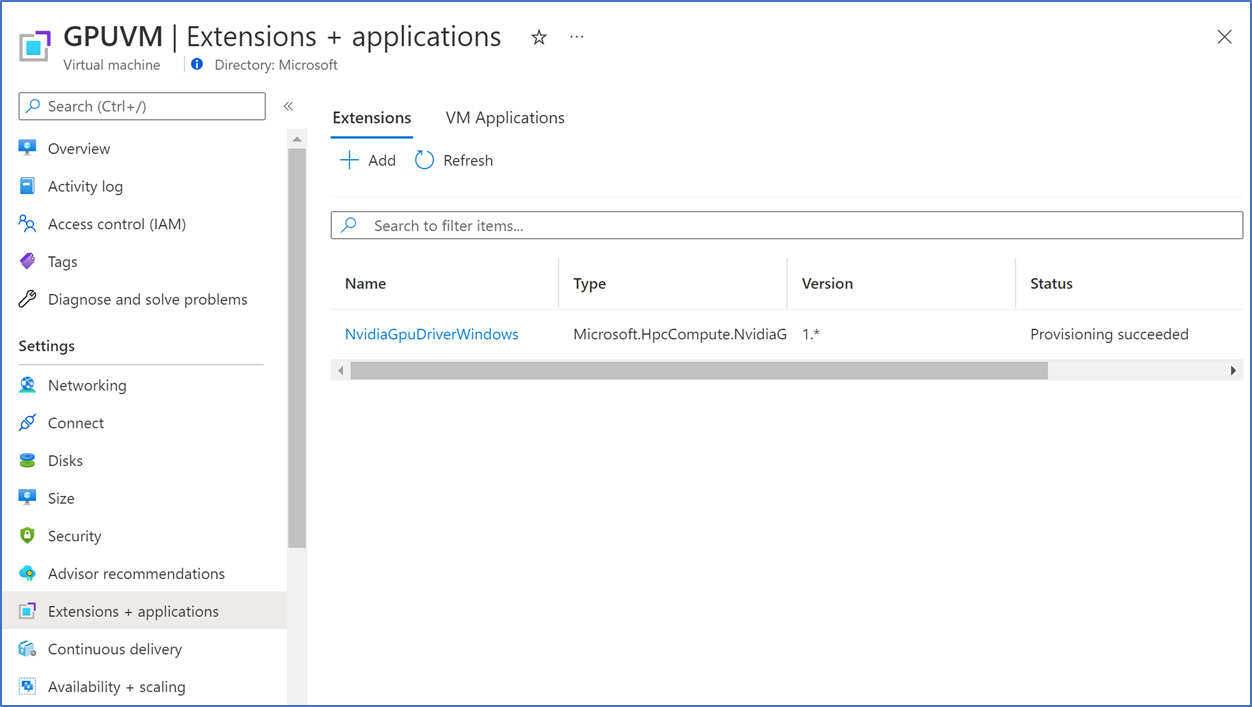
- After installing the driver restart the VM and check the status of the driver
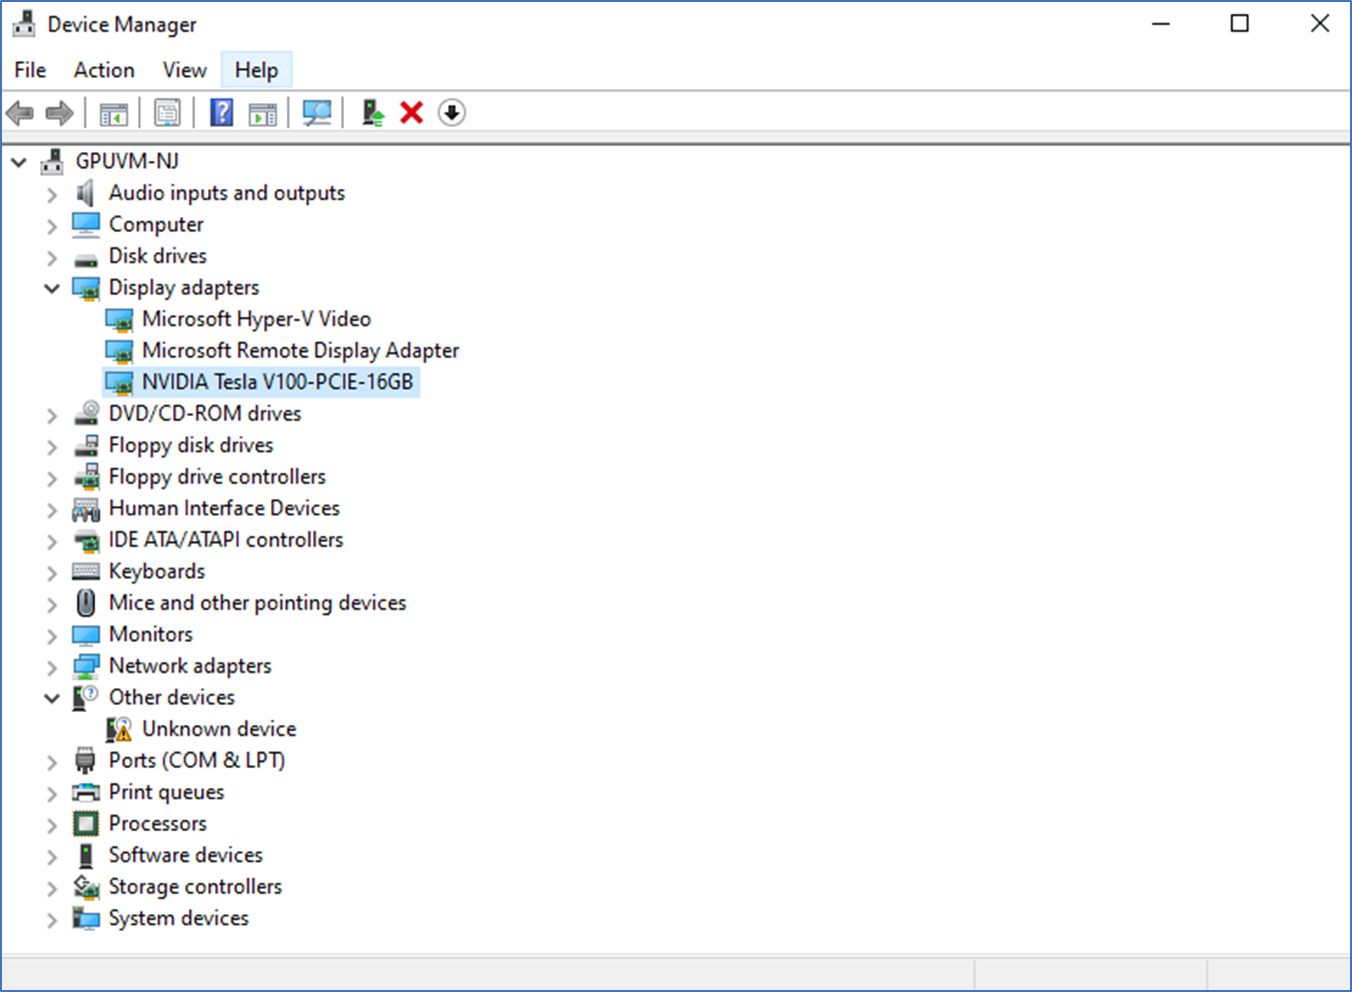
- You can also check if the GPU is shown in the Task Manager. I cannot see it because GRID drivers are not installed, if you are using the NV series, GRID drivers should be installed now.
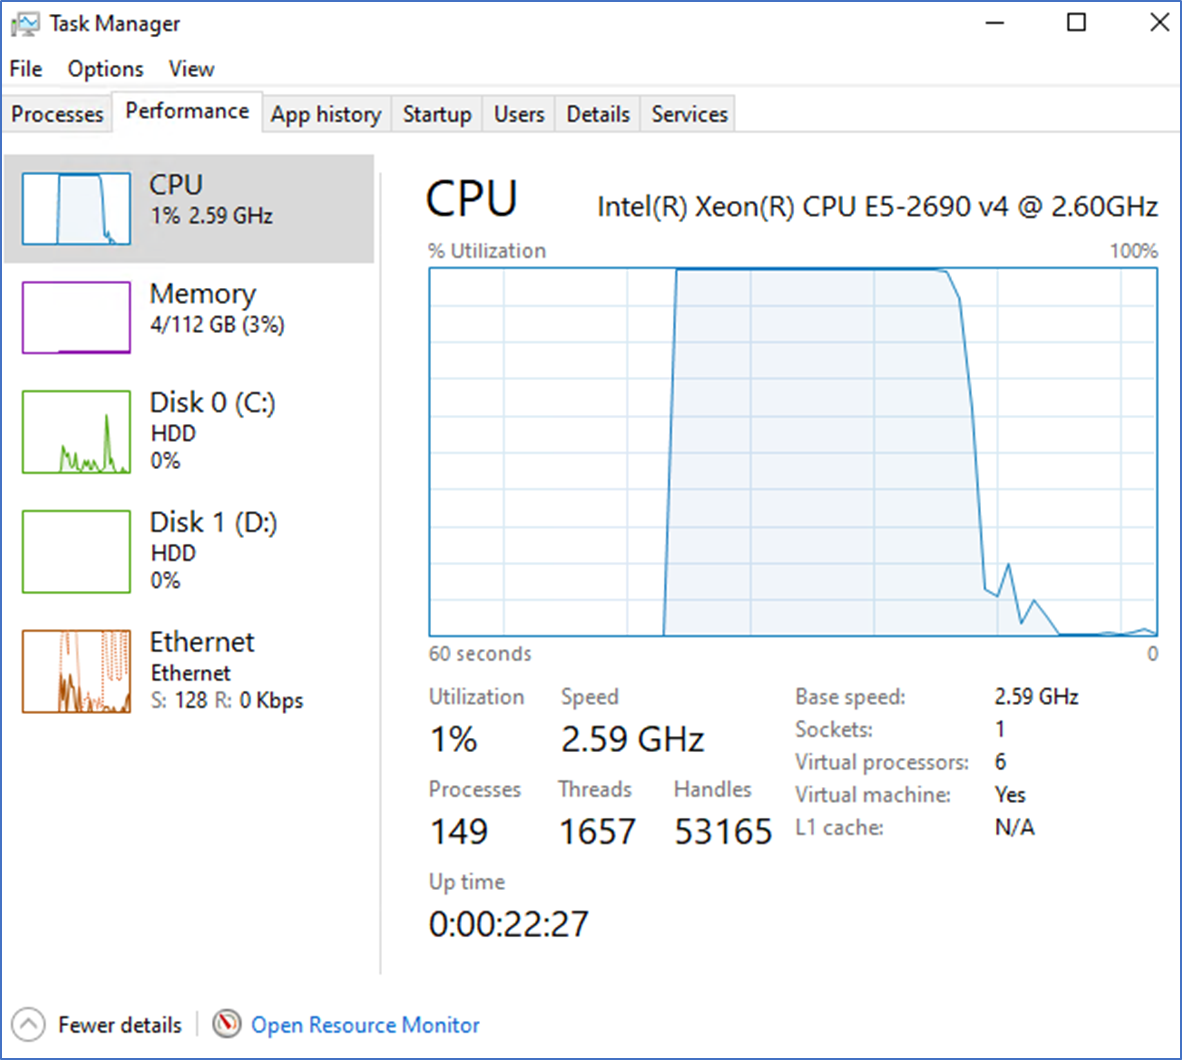
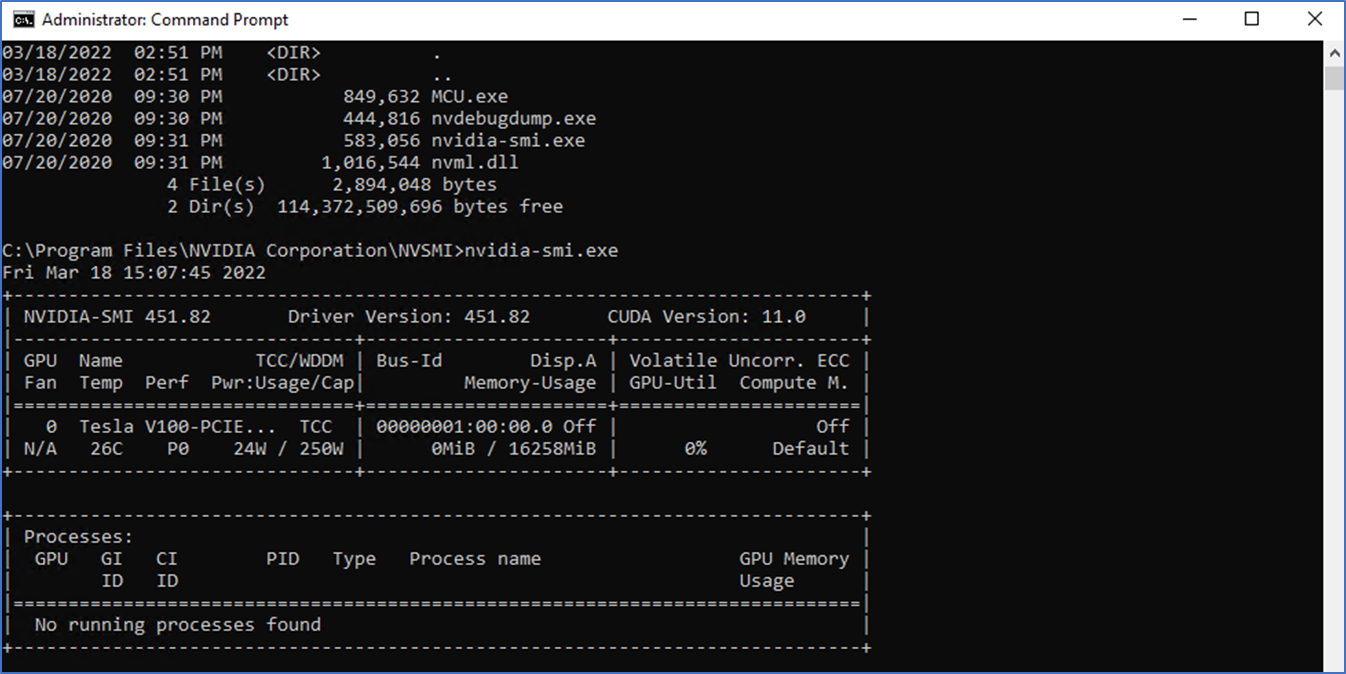
Note – I’m using NCasT4_v3-series and the Azure extension only installs the CUDA drivers. In this VM series, you need to install the GRID drivers manually. Without GRID drivers, NCasT4 series Tesla GPU running default TCC Mode, which is suitable for Compute-optimized workloads. You can check this by running C:\Program files\NVIDIA Corporation\NVSMI\nvidia-smi.exe
You can see it has selected TCC as default.
Install GRID Drivers manually (NCasT4 series) – Optional
You can find the correct GRID drivers from the following URL. Download and install according to your OS
https://docs.microsoft.com/en-us/azure/virtual-machines/windows/n-series-driver-setup#nvidia-grid-drivers
After installing, restart the machine and check the Task Manager, you will be able to see the GPU
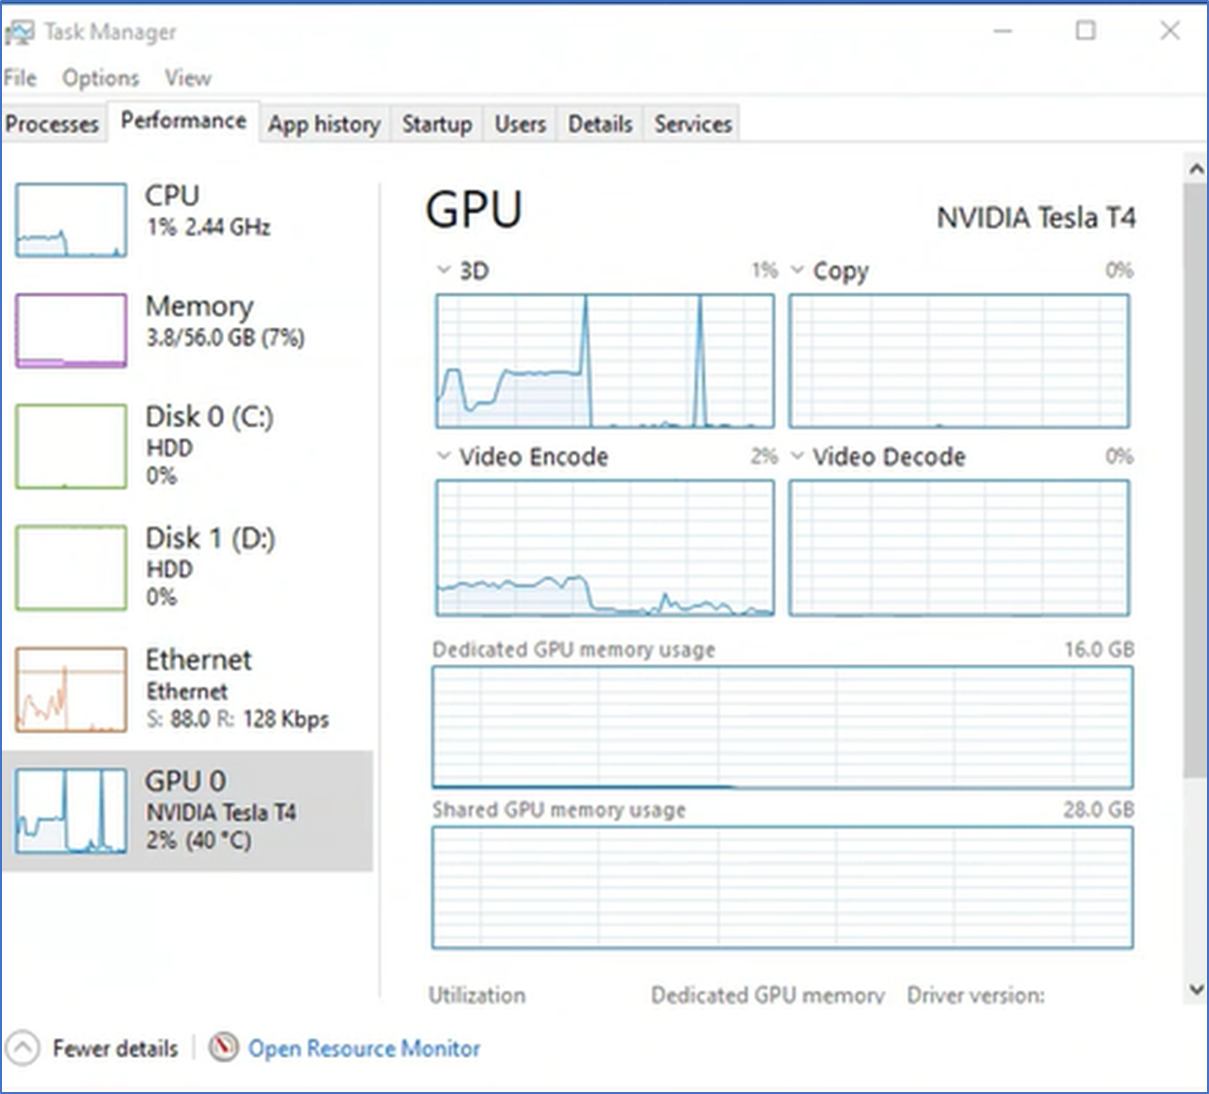
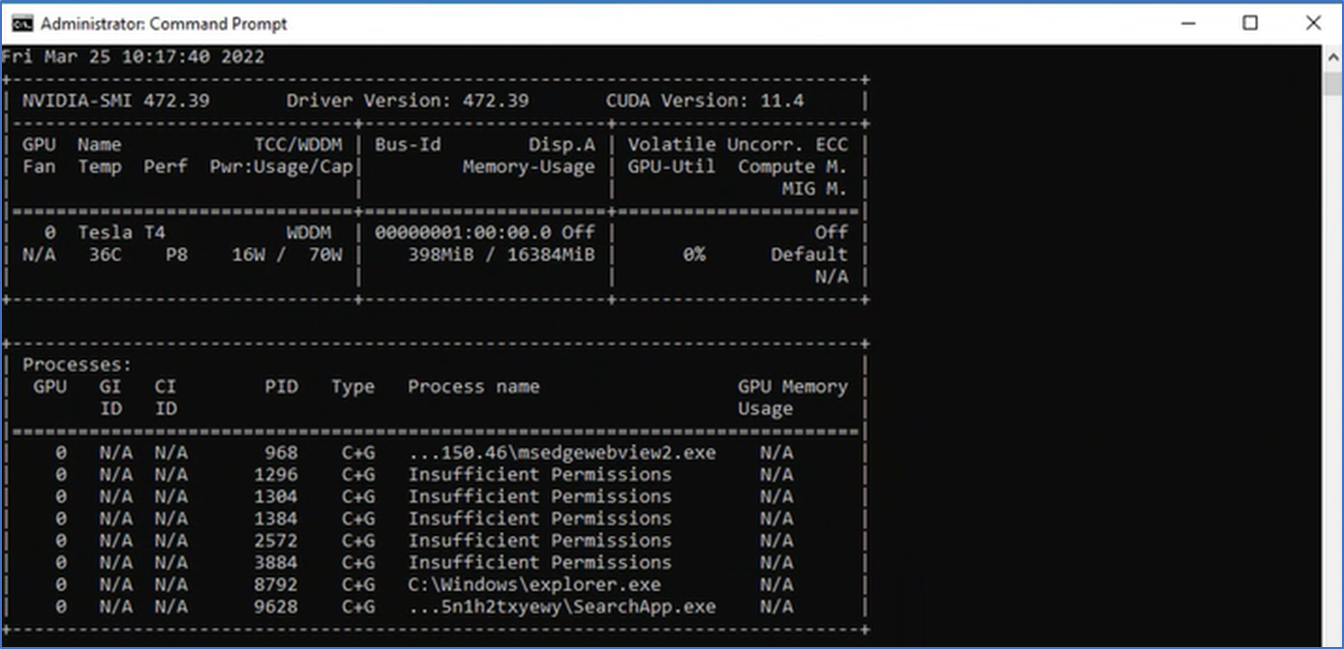
Also, you can check the GPU mode by running nvidia-smi.exe. now Tesla GPU is set to WDDM
Configuring GPU for RDP
Remote desktop services require some additional configurations to enable GPU processing. You need to configure the settings below in the group Policy for the session host to enable GPU-accelerated rendering
Configure GPU accelerated app rendering
- Open local group policy – gpedit.msc
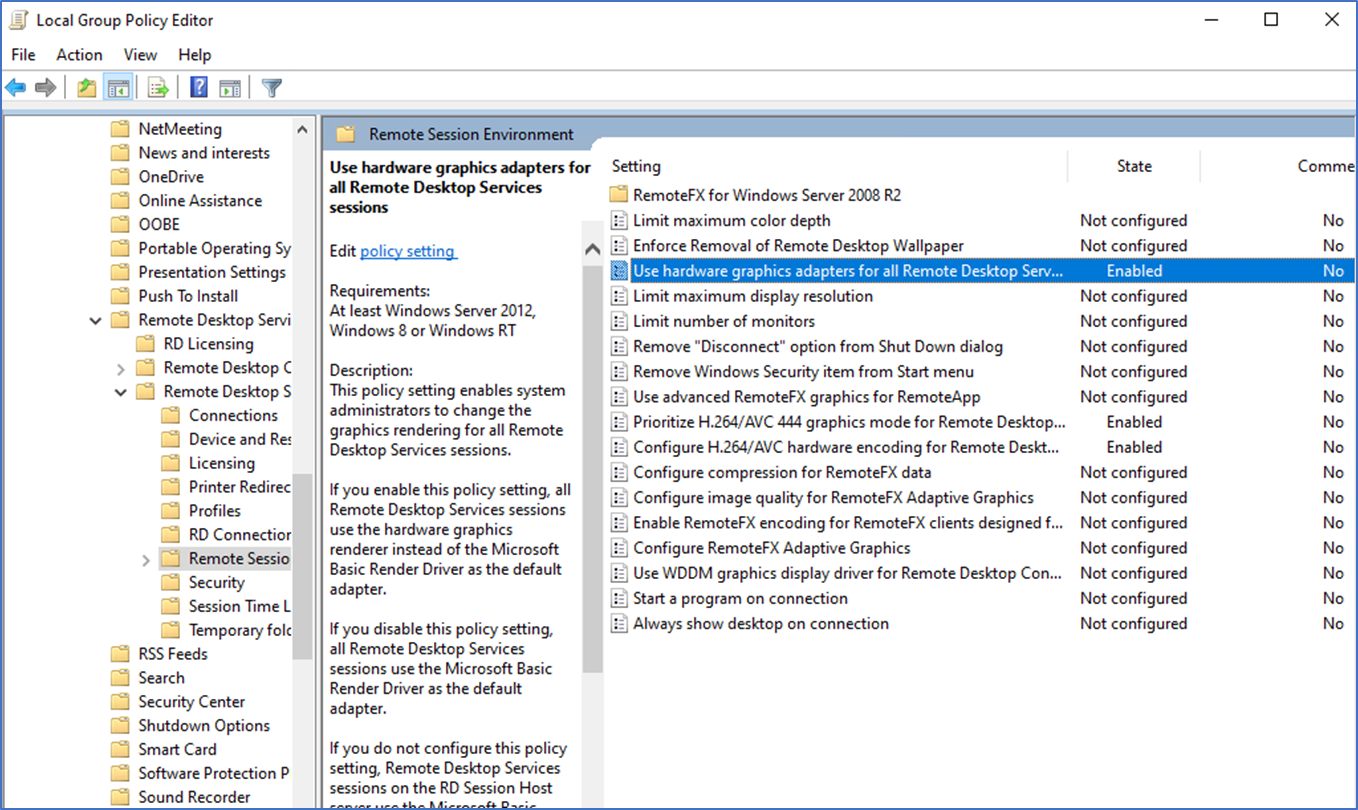
- Navigate to Computer Configuration > Administrative Templates > Windows Components > Remote Desktop Services > Remote Desktop Session Host > Remote Session Environment.
- Select policy Use hardware graphics adapters for all Remote Desktop Services sessions and set this policy to Enabled to enable GPU rendering in the remote session.
Additionally, you can enable GPU-accelerated frame encoding and Fullscreen video encoding by following GPU settings
- Select policy Use hardware graphics adapters for all Remote Desktop Services sessions and set this policy to Enabled to enable GPU rendering in the remote session.
- Select policy Prioritize H.264/AVC 444 Graphics mode for Remote Desktop connections and set this policy to Enabled to force H.264/AVC 444 codec in the remote session
Testing the GPU
Furthermore, you can test the performance of your GPU by running the following applications
- http://david.li/fluid/
- Webglsamples.org
- getwebgl.org
- Furmark app
Capture image for AVD
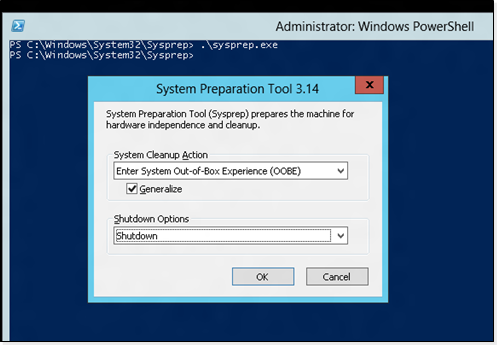
After successfully installing the graphic drivers and testing the GPU, you can Sysprep the image and capture it to use in AVD. Sysprep will not remove the drivers or GPO configurations.

Hope this post is useful
Cheers


