
In my previous post, Create a Static Website in Azure, we discussed how to host a static website using an Azure storage account. It's incredibly easy, and you can do it in 5 minutes. In this post, I will explain how to map your custom domain to that static website using the front door. In this scenario, I'm only focusing on an HTTPS static website.
Configure DNS Management to Azure DNS - Optional
With Azure DNS, you can host your domain and control your DNS records. It's easy because you can use the same credentials for both. This is an optional step, but I would like to cover it as well.
- Login to Azure Portal
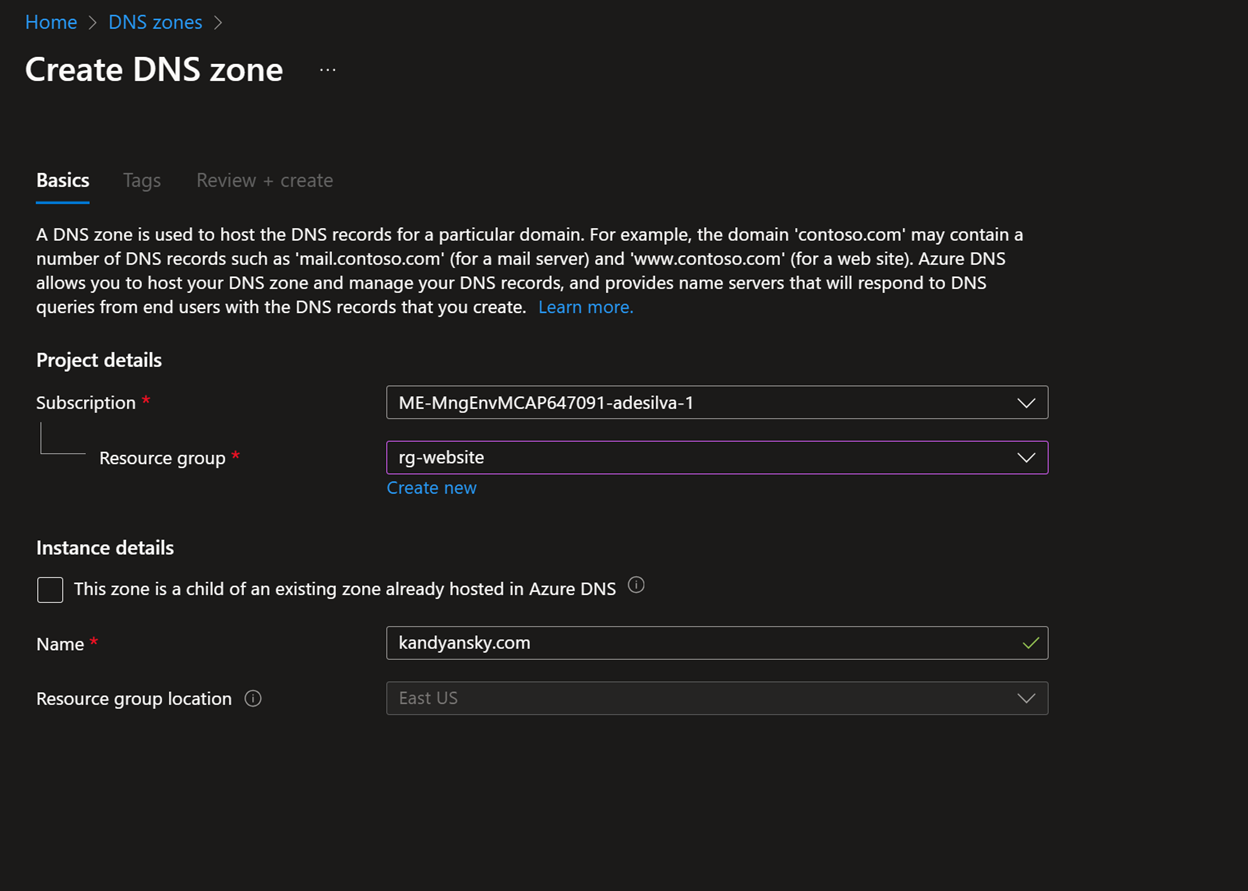
- Navigate to DNS Zones and click Create.
- Select the subscription, type the DNS zone name, and click Create.
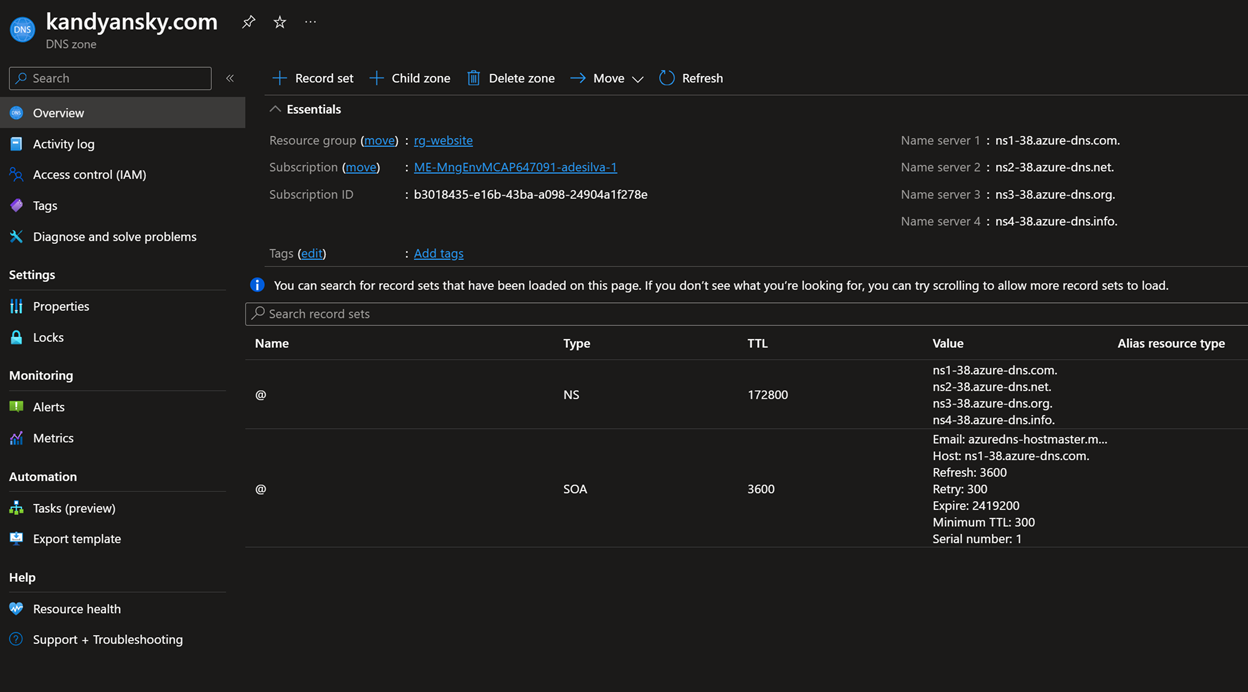
- After creating the DNS zone, you should see a bunch of Name servers; make note of these name servers.
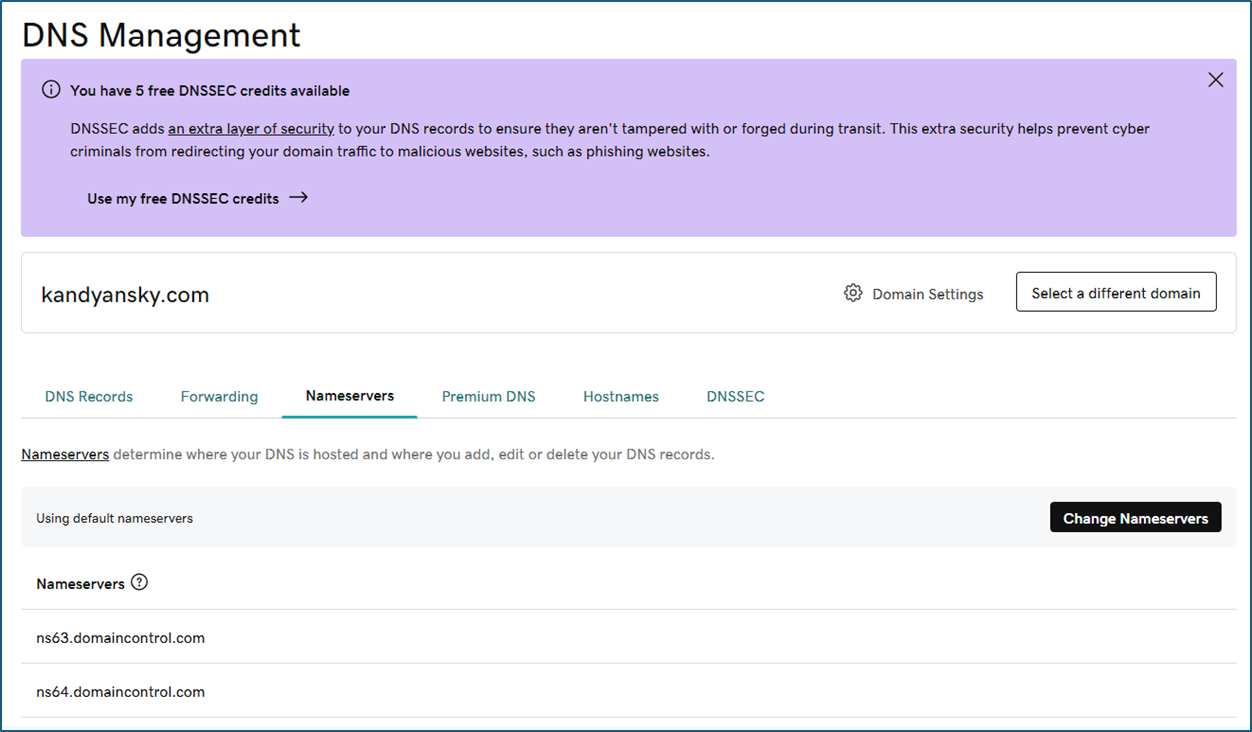
- Next, you must update your domain registrar to use Azure DNS name servers. This is called delegating your domain to Azure DNS. Login to your domain registrar and replace the name server with Azure DNS name servers that were identified by the previous step.
In my environment, I'm using Godaddy as the domain registrar, Login to Godaddy – Nameservers – Change Nameservers
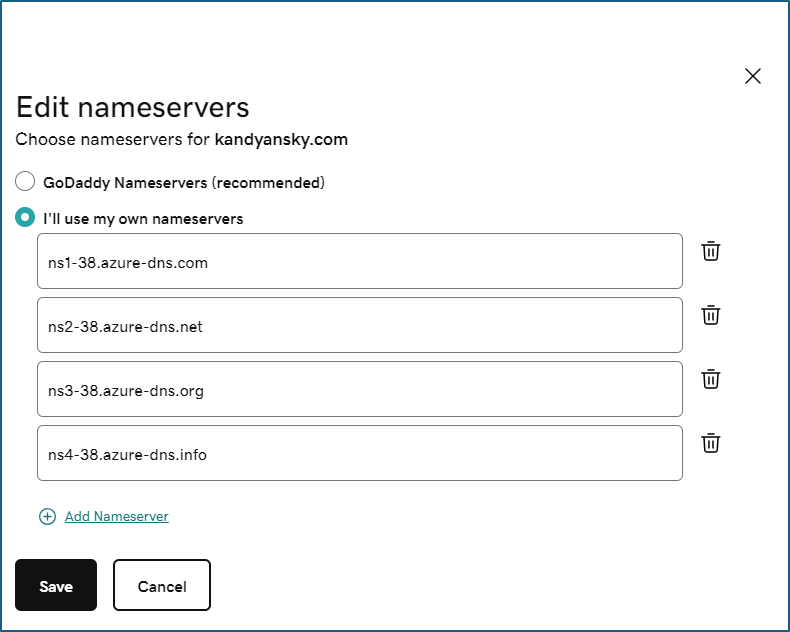
- Select my nameserver and add all name servers identified by the DNS zone creation step. Click Save
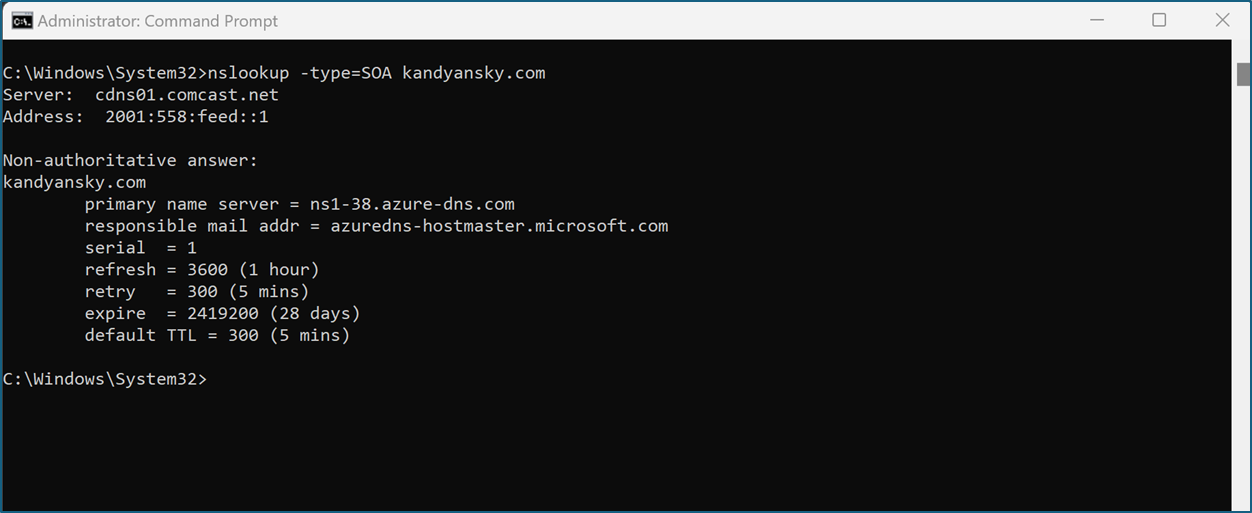
- Wait 10 minutes and run the following command to verify the nameserver update.
nslookup -type=SOA kandyansky.com
Azure storage account with Azure Front Door
In my scenario, I'm referring to a HTTPS static website. Azure front door is the recommended solution to configure a custom domain for HTTPS. Refer to the below steps
Enable Front Door on the Storage account
- Locate the storage account where your website is hosted.
- Click Front Door and CDN
- Enter the name for the Front Door profile, Endpoint name, and Create.
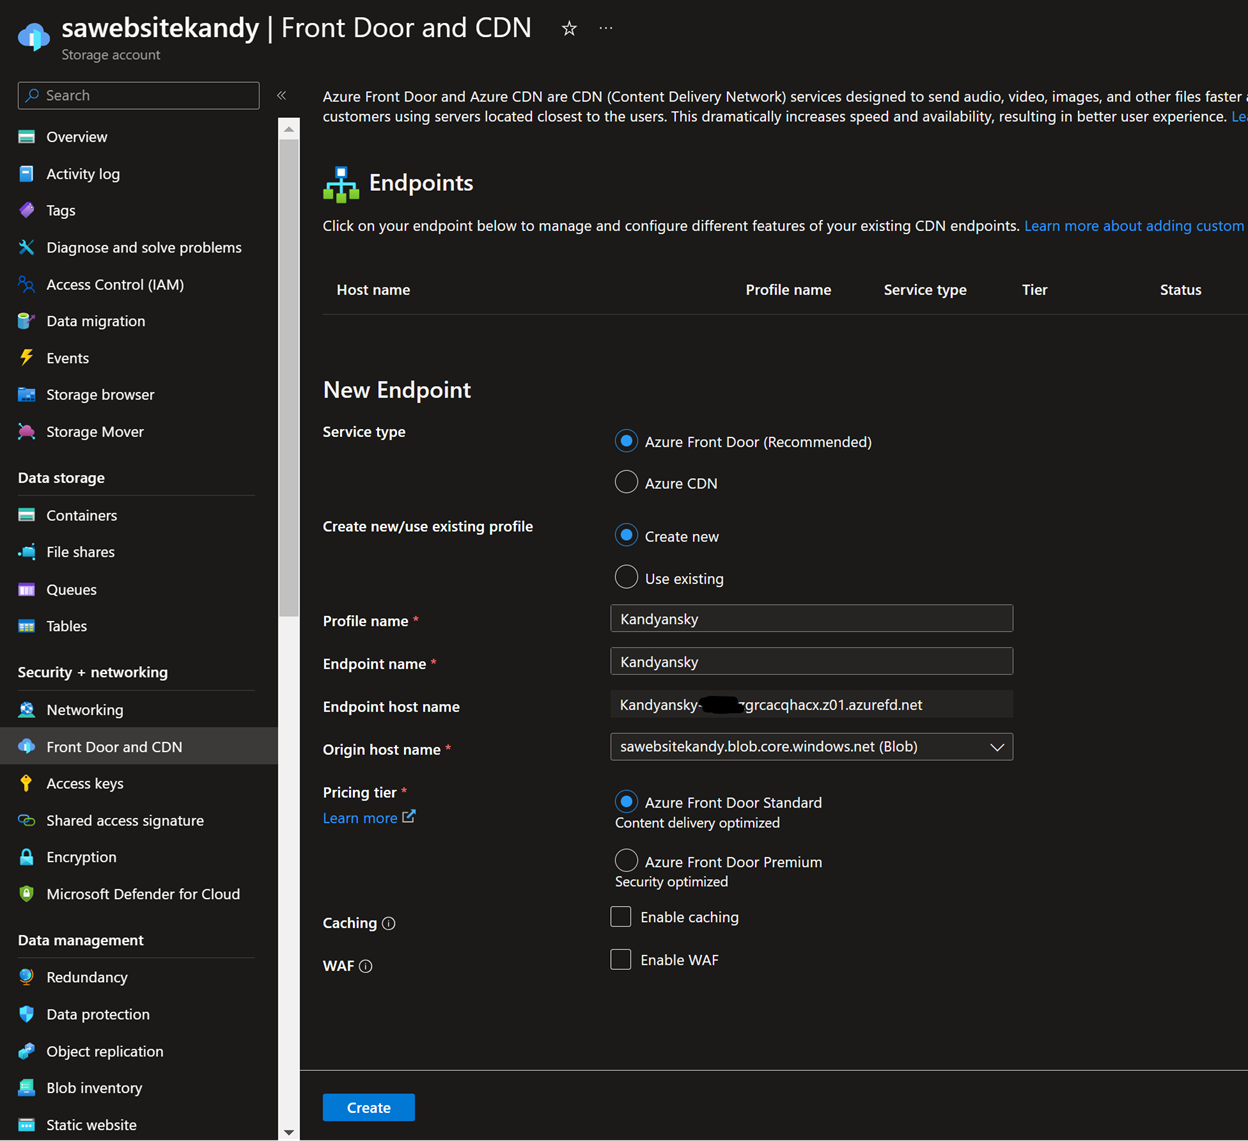
- You should see the endpoint created successfully.

Configure custom domain on Azure Front Door
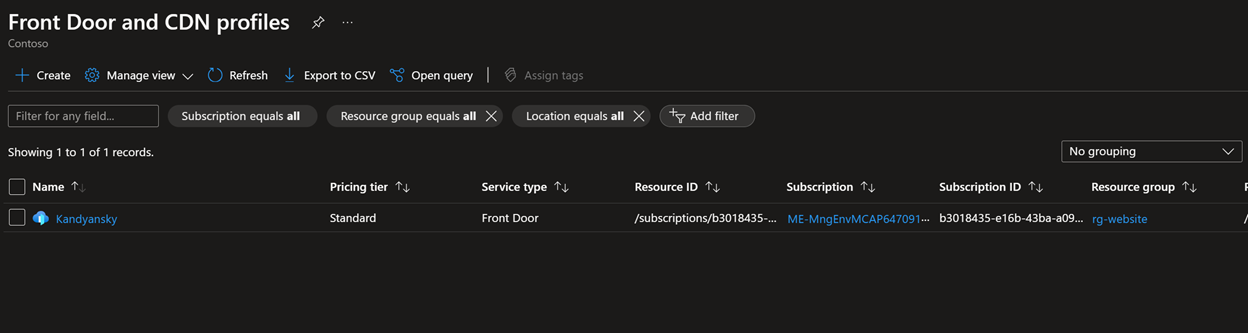
- Login to Azure portal – Front Door and CDN profiles – click the profile you created earlier.
- Navigate to Domains and click Add Domain
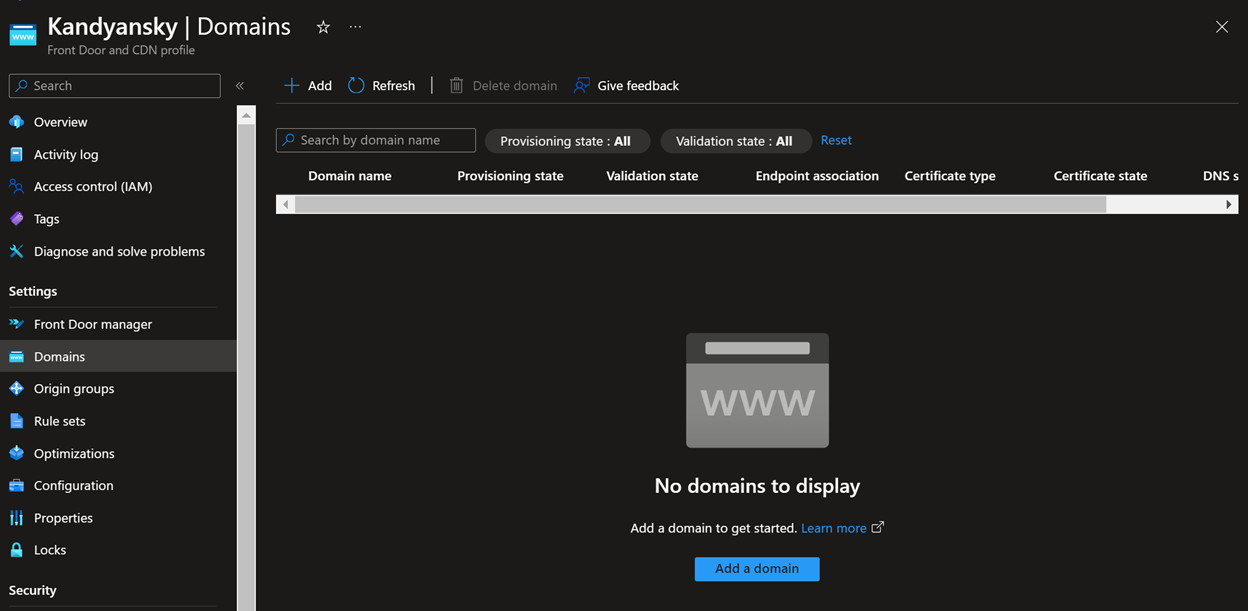
- Select None-Azure validated domain, Azure Managed DNS, and DNS zone created before.
In this example, I'm using the root domain name to access the website, so I have selected the APEX domain.

Note – I'm not covering Bring Your Own Certificate scenario here.
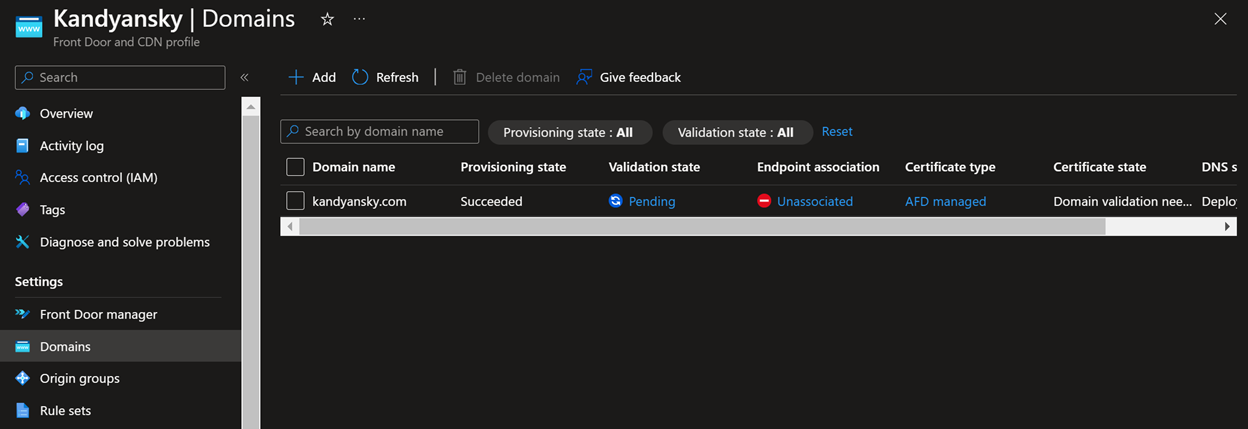
- You should see your domain is added, but validation is pending. Click on the top of the Pending
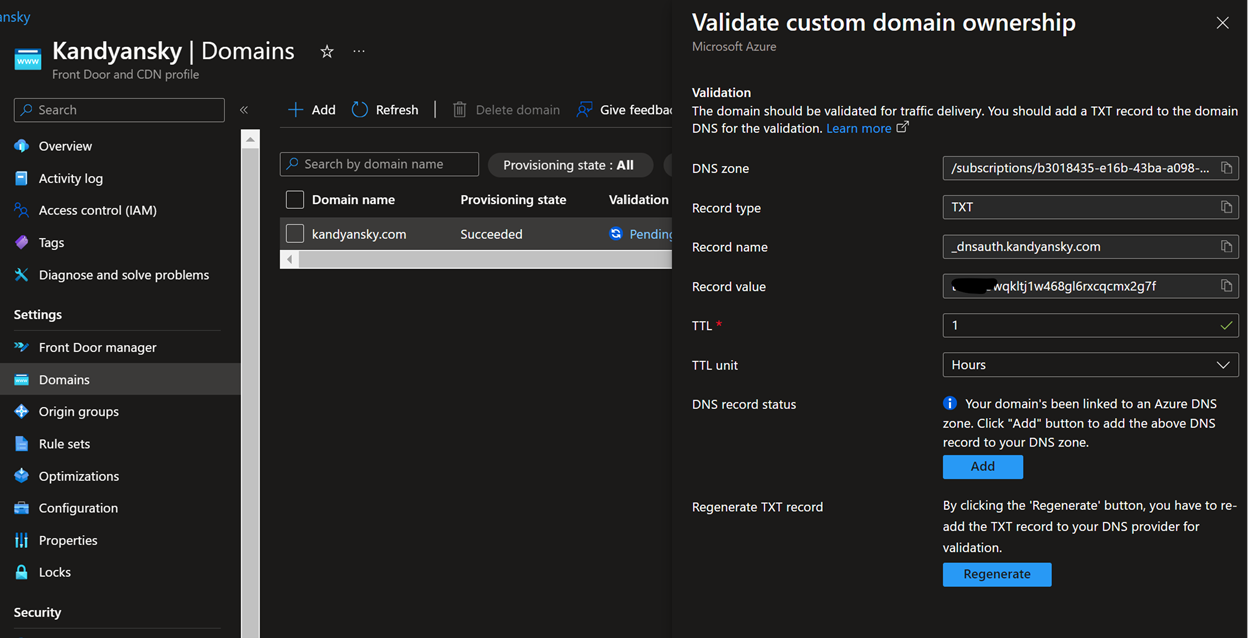
- Since you are using Azure DNS, you should see the TXT record contents are automatically populated. Click Add to add the record to the DNS. If you are using different DNS management, you need to add this record to that DNS.
- Wait a few minutes and refresh, you will see pending state changing to Approved.
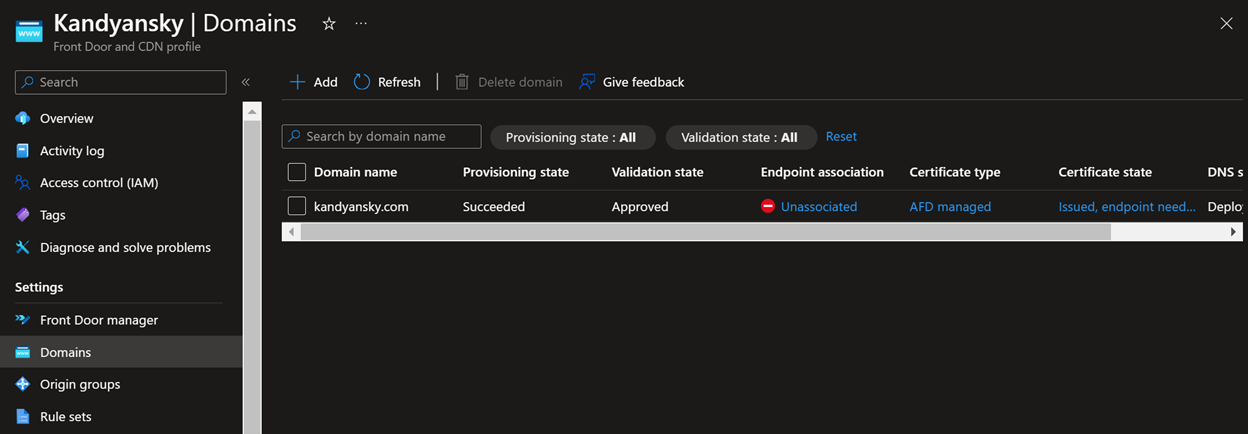
- Next, you need to associate the custom domain with the Front door endpoint. Click Unassociated and select the endpoint and default route.
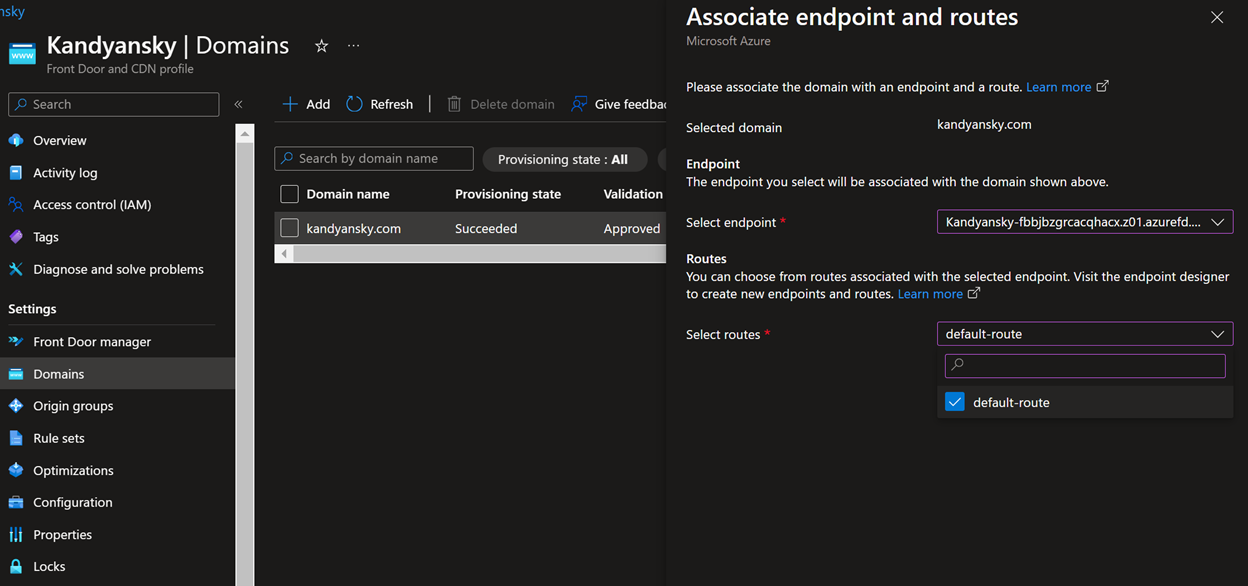
- Click Associate.
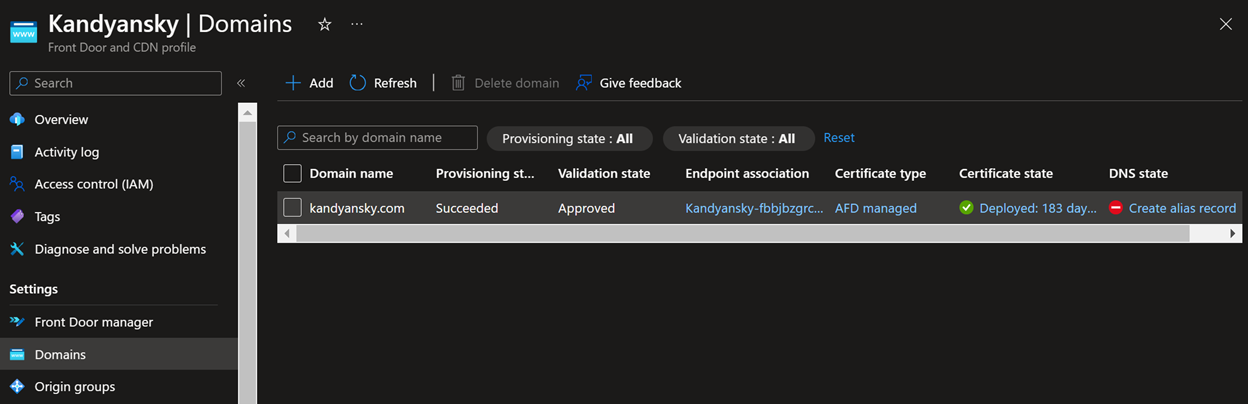
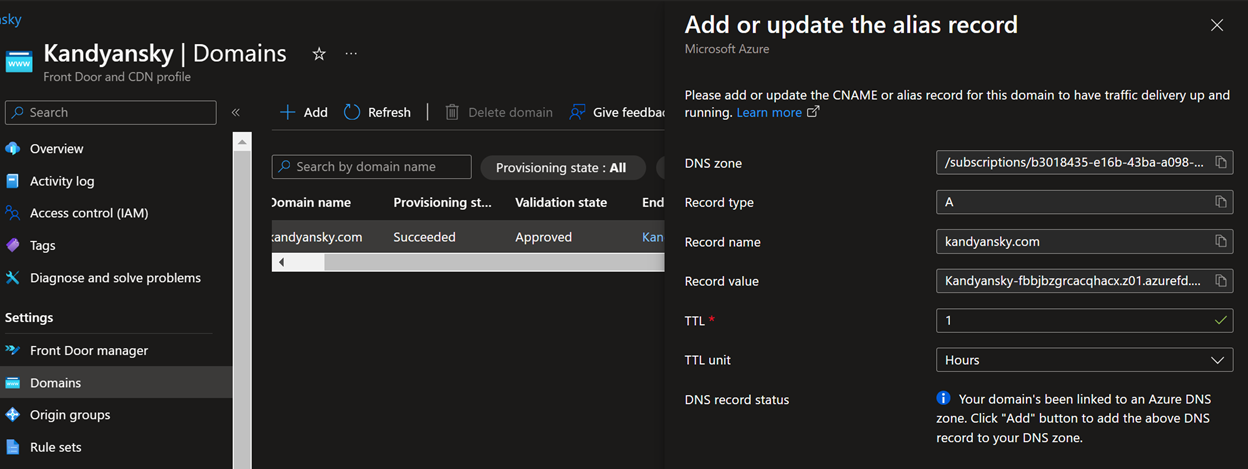
- Next, click Create alias record and click Add on CNAME record page
- Verify the Domain
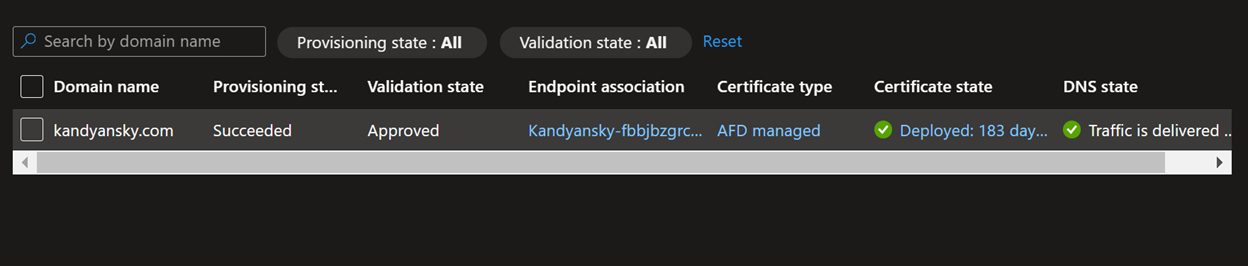
- Now, you should see your web page resolved to the custom domain with SSL.

Hope this post is helpful.
Thanks
